How to Make a Bird Box - DIY
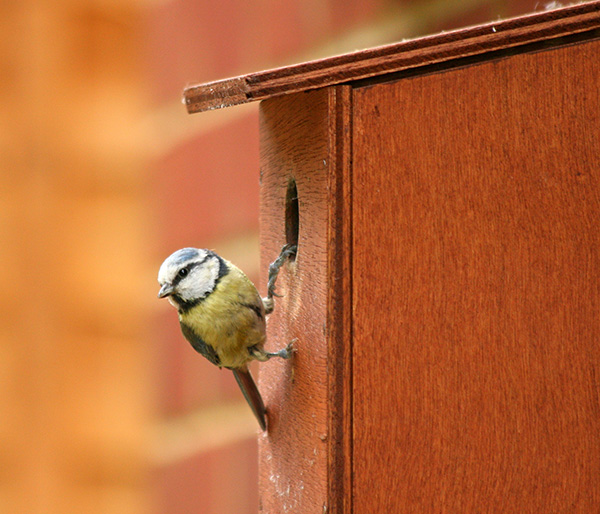
May is slowly rolling in, we can finally enjoy the nice weather and the blossoming trees and so can our little winged friends! If you have recently finished a wood flooring project and have some leftover wood why not use this opportunity to build a lovely bird box for your garden. They are easy to build and you also gain the opportunity to have a small pair of cute tits right next to your house.
Ideally for this project you will have some unfinished wood left, though planks with finishes are good to use as well. Provided your have not applied any varnish or any other chemicals on them.
The wood necessary for this project is a small amount. So usually one or two planks should be fine.
Things you'll need to build the bird box:
- A plank or two of wood. You want the total length to be at least 1500mm. The thickness of the wood needs to be at least 15mm to provide insulation.
- Hand or circle saw
- Galvanised nails
- Hammer
- A small piece of rubber (inner tube of a bike wheel is usually fine)
- Drill and wide drill bit
- Ruler and pencil
Cutting the necessary pieces
Here is an easy diagram courtesy of The Bird Box Project to help you understand the pieces you'll be cutting up.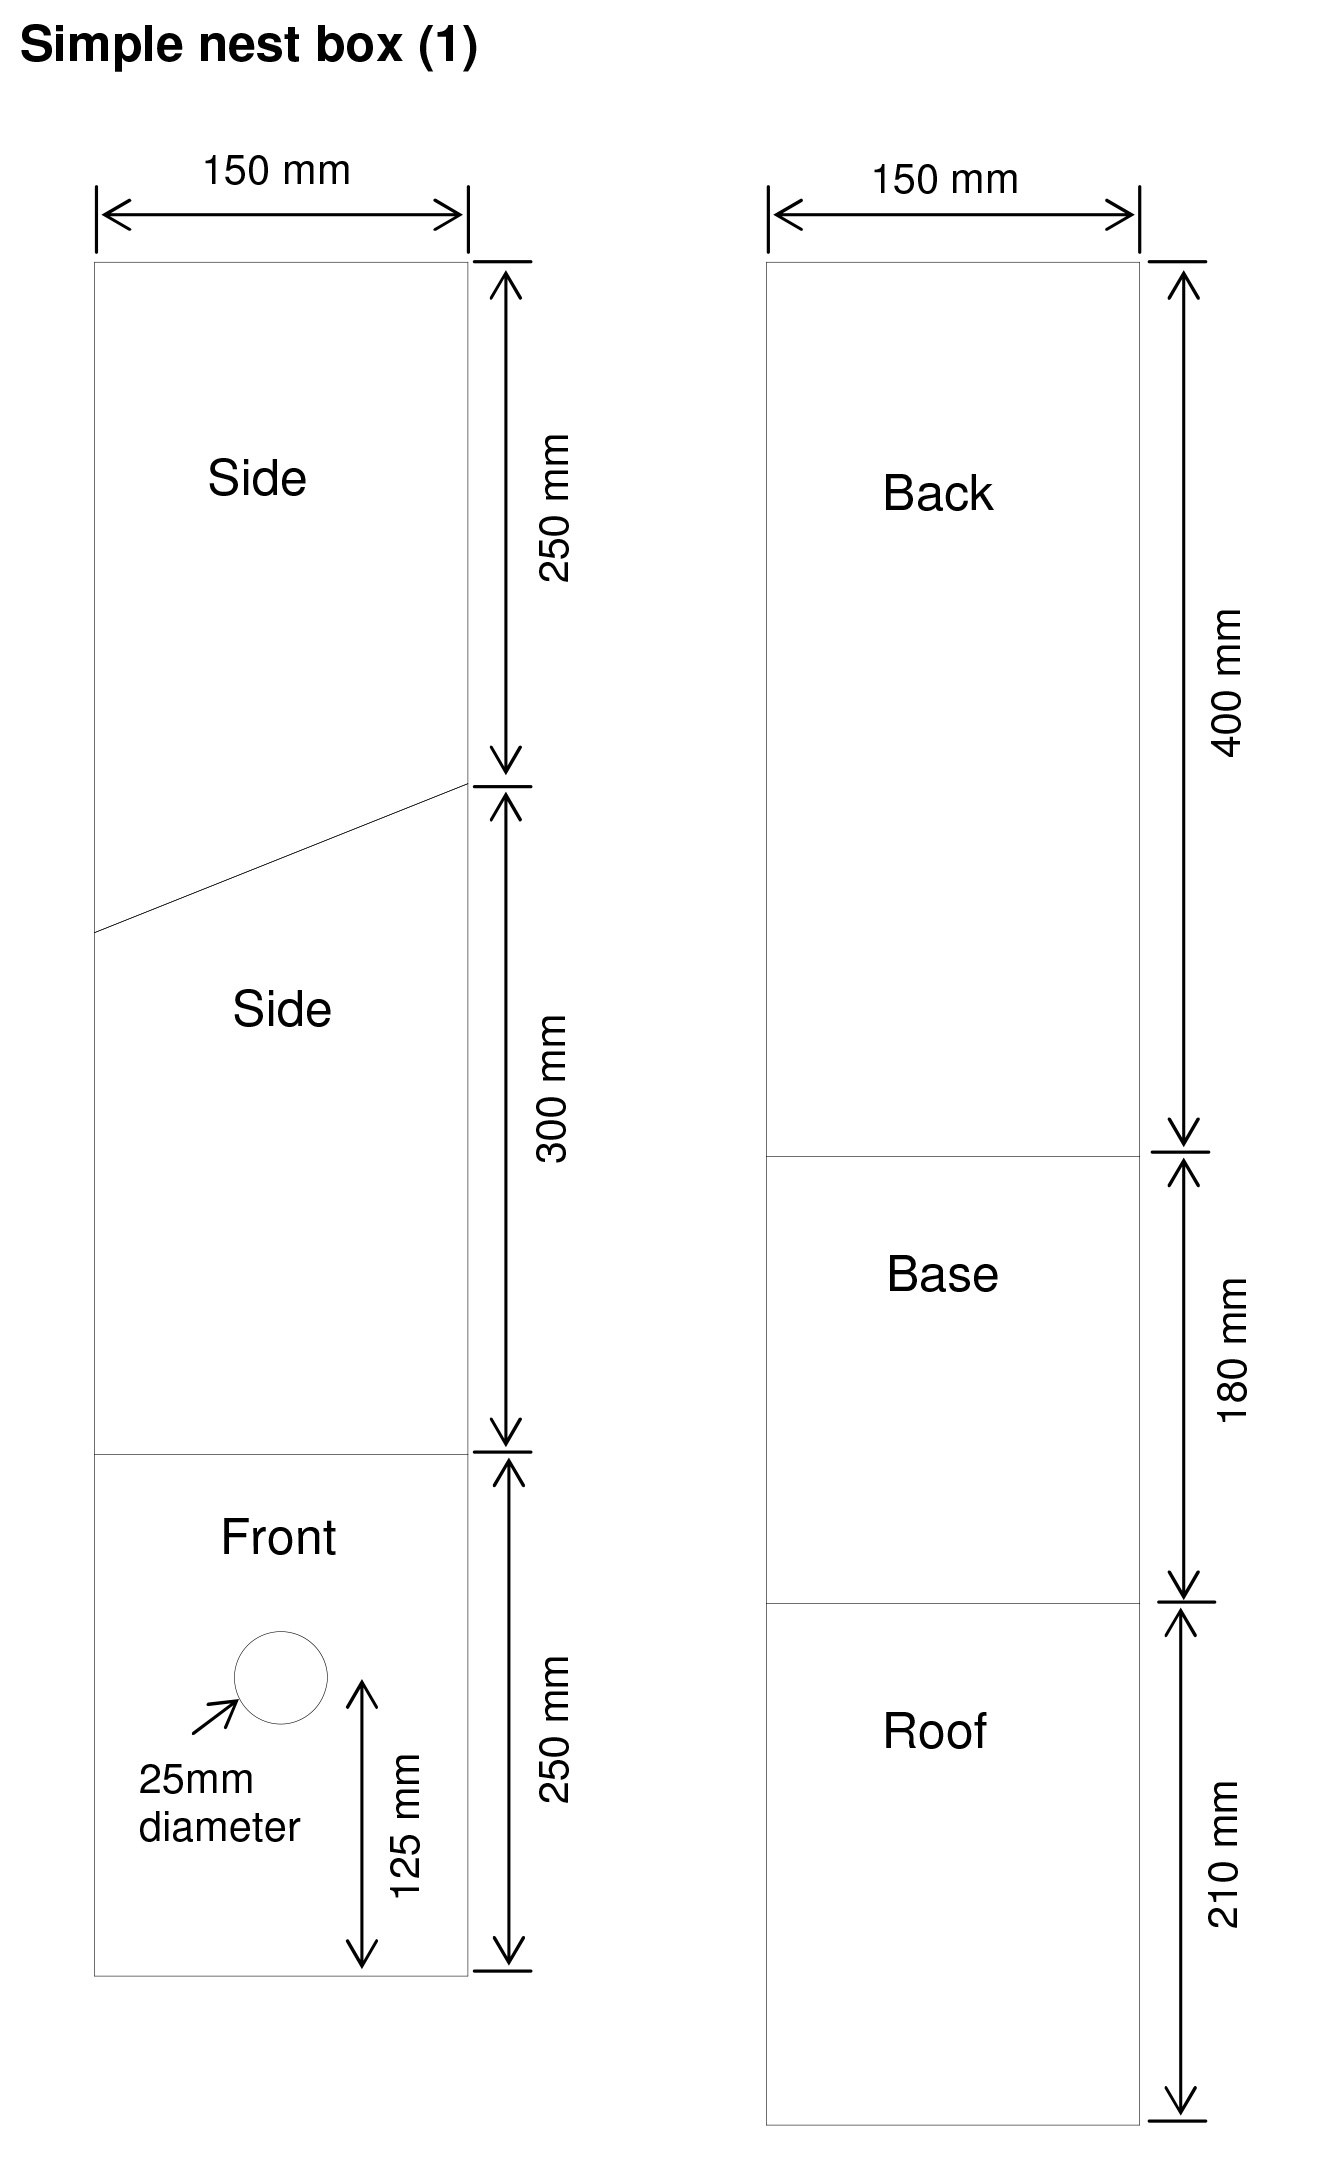 Plans courtesy of a The Bird Box Project
As you can see the sides need to be longer on one end, and the back is longer than the front. We will be also adding a longer piece on top which we'll use as a flap to allow for inspection and cleaning.
Measure and mark your pieces to the above dimensions. Using a hand-saw or circle saw cut the boards down to the 6 individual pieces
This is also a good time to drill the hole on the front piece. It should be at least 25mm to accommodate for small birds but it can go up to 45mm depending on the species you hope to attract.
Lastly, drill holes at the bottom of your bird-house to help any rain drain away quickly.
Putting the pieces together
Nail the sides together with galvanised or stainless steel nails. To create the top lid, cut the rubber tube to the width of the box and nail it along the back of the box and to the roof.
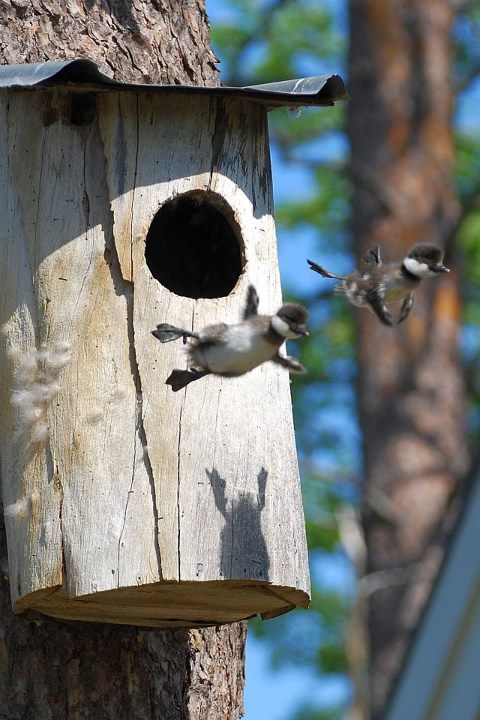
That's it! Your bird box is done. Hopefully you'll be able to attract a nice family of blue tits or perhaps even ducklings!
A few key things to remember:
- It is vital for your wood to have 15mm thickness and above. We want those chicks to be warm!
- Avoid using any chemicals if possible. Should you wish to paint your box, only paint the outside of the box and make sure it is environmentally friendly.
- Remember to drill little holes at the bottom of your box. It is vital to ensure that your box remains warm and dry.
- If you wish to, you can place a small camera in your box to observe how's your little neighbours doing. Click here for more info.
Once you master the wood-floor bird box why not make something more elaborate and add a roof or some nice paint decals to give it some character like this lovely lady has done?
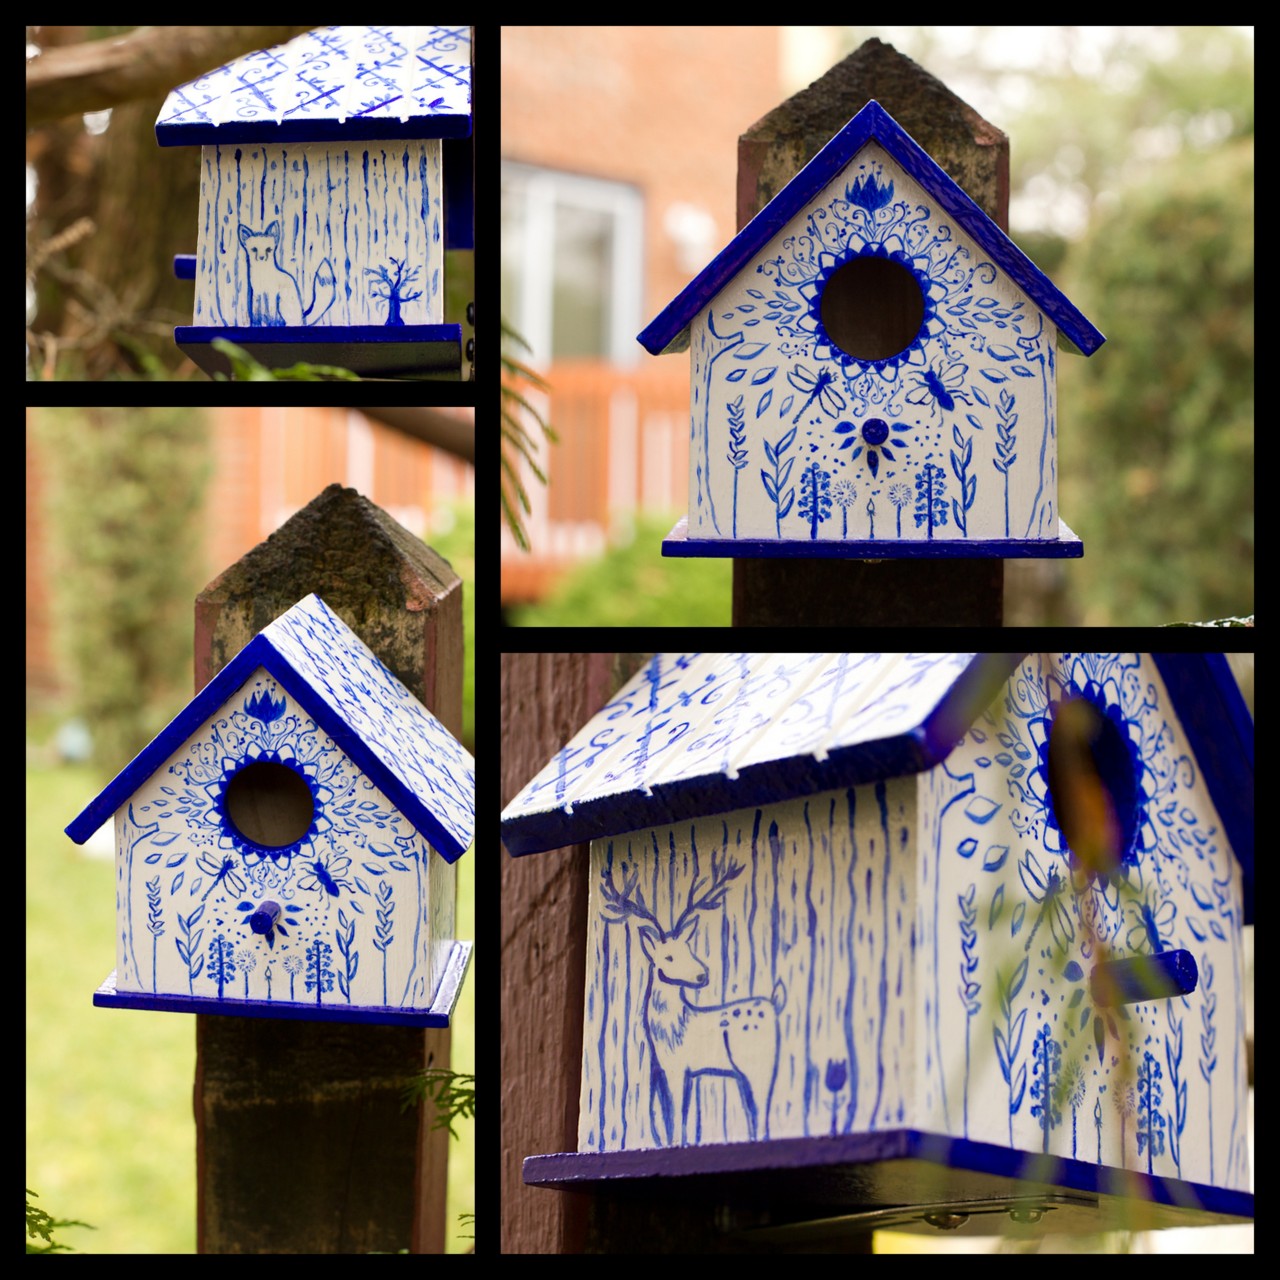 Painted Birdhouse by MichelleMade @ Tumblr
