We use cookies to make your experience better. To comply with the EU GDPR e-Privacy directive, we need to ask for your consent to set cookies. Learn more.
How to Make a Wooden Coaster
How to make a wooden coaster! Possibly one of the easiest DIY projects out there. Still, have you ever though of using your leftover wood planks for it?
The premise is simple: You need a small surface, big enough to hold a big glass or mug, that will act as a buffer between your drink and your favourite surface.
Yes of course you can go out and buy those cheap looking cork ones but what if you made your own using your leftover floors? They would look classy, be less prone to slip and could match your lovely furniture too!
The simple square
All things considered this is probably the easiest of the possible combinations you can have for left over wood-floor coasters. Essentially it is as easy as it sounds. A square cut piece of wood.
Things you'll need to make a wooden coaster:
- Your leftover plank of wood. If unfinished you can put your own finish or spray paint them and add some colour to your coasters.
- Hand or circle saw
- Ruler and pencil
- Sandpaper
- Optional:
- Sandpaper
- Wood varnish (some left over maybe?)
- Hand planner or chisel
- Clamp
Making of:
Measure and divide your plank in 11x11cm squares. Using the hand or circle saw, cut your plank so you end up with a series of wooden squares that measure 11x11cm.
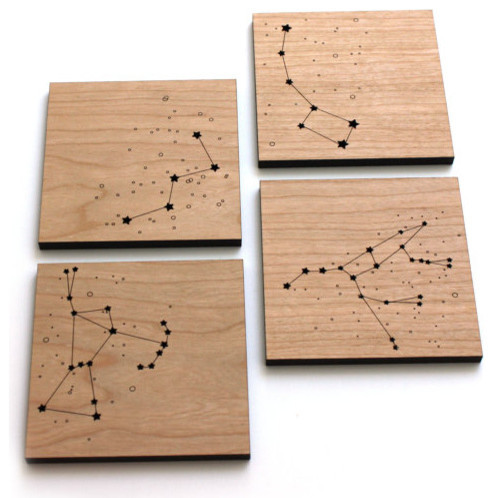
 Personalised wood coasters by Not on the High-street
This is pretty much all there is too it. For simple, boring square coasters that is. If you want something a little bit more detailed there is another option.
Optional method on how to make a wooden coaster
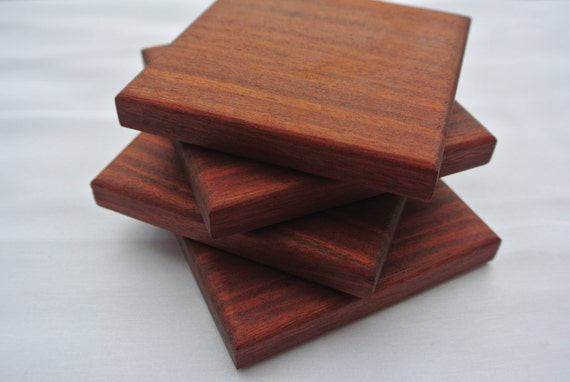
After you have your squares separate, it might be a good idea to add a bevel edge to each side to give it a more finished (and classy) look.
 Polished wood square coasters by JCBees on Etsy - Wouldn't you love to have these coasters?
Clamp each square and slowly add a bevel using the hand planner or the chisel. Sandpaper any sides that might feel a little "rough" and if you want them a little more polish and protected add a light coat of varnish on each square.
The sky's the limit from here! With the chisel in hand you can carefully add intricate patterns on your coasters, carve names and even more bevels and ridges. People will have no idea that the expensive looking coaster they are using is a part left from your wooden floor!
 Eclectic Barware
The simple circle
Just as the simple square method you have a number of options for this type of coaster. Let's start with the simple one.
Things you'll need:
- Your leftover plank of wood. If unfinished you can put your own finish or spray paint them and add some colour to your coasters.
- Hand or circle saw
- Large circular drill bit (Hole saw)
- Self centring compass
- Ruler and pencil
- Clamp
- Sandpaper
- Optional:
- Wood varnish
- Hand planner or chisel
Squaring the circle
Like before, measure and mark your wood floor plank in square increments. A little bit bigger than 11x11cm to allow some room for movement (and possible mistakes) since we will be rounding up these squares afterwards.
When you are done, mark a circle with the self centring compass in the middle of each square. A diameter of about 10cm should be enough, if you have the necessary drill bits you can make it bigger or a little bit smaller depending on your needs.
Clamp securely your wood plank and using the circular drill bit, cut round shapes using the marks you have drawn previously. Sand as needed to round it up and make the edges a bit bevelled.
Enjoy your (overly) simple round coasters!
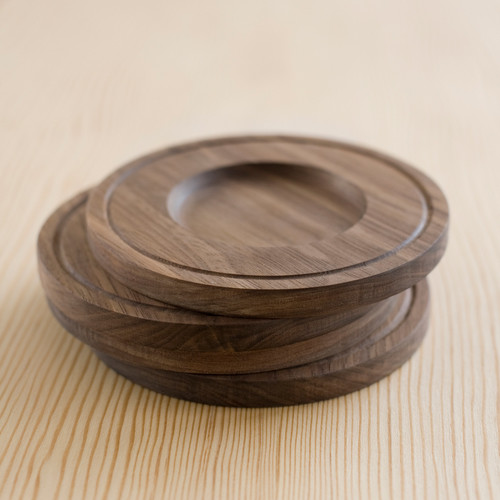
 Wooden coasters by Not on the High-street - You too can have coasters that look as lovely as this
Optional method
Like before, there are ways to make these round wood-floor drink coasters look a little bit better. Your options again are only limited by your imagination.
Sanding down the edges and making sure they are perfectly round helps. You can seal again with a nice varnish or paint if you so wish.
But what can make these coasters even more unique is the chisel! You can make patterns again around the rim or even use a smaller circular drill bit and make a hole half-ways through right in the middle of your coaster.

The results can be astonishing and look quite unique, I bet your guests will have a hard time finding similar coasters anywhere else for as cheap a price as your handmade ones.

